


SearchStax Site Search solution gives marketers the agility they need to optimize website outcomes.
Product Overview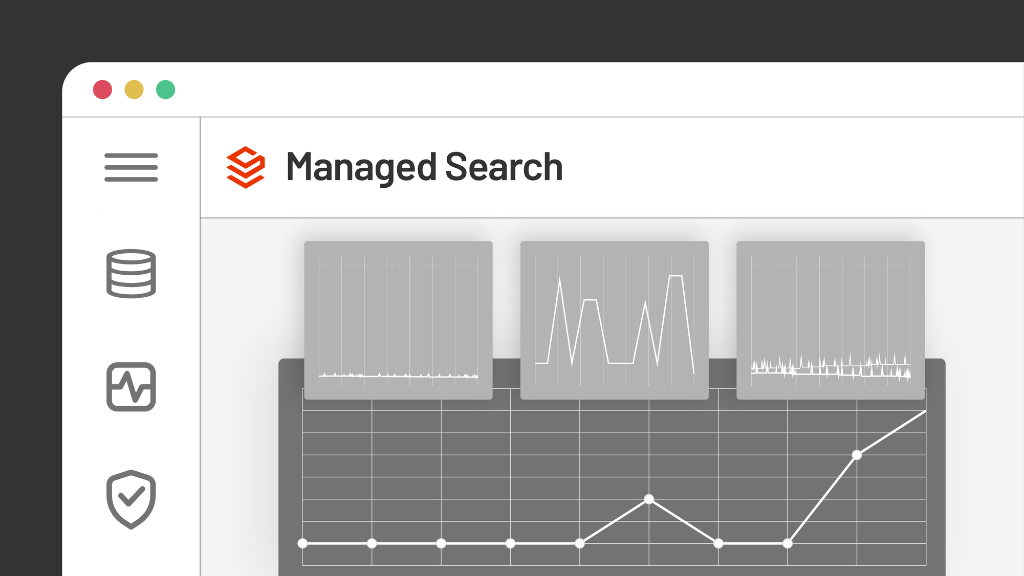
SearchStax Managed Search offloads Solr management, giving IT teams enhanced operational agility.
Product Overview
SearchStax Site Search solution gives marketers the agility they need to optimize website outcomes.
Product Overview
SearchStax Managed Search offloads Solr management, giving IT teams enhanced operational agility.
Product Overview